Page 1 of 6 123 ... LastLast
Results 1 to 15 of 82

Thread: bRIBEGuy's 2000 XJ: An Ongoing Build Project

Hybrid View

Previous Post Previous Post   Next Post Next Post
  1. #1
    Join Date
    Aug 2014
    Location
    Canada
    Posts
    68

    Default bRIBEGuy's 2000 XJ: An Ongoing Build Project

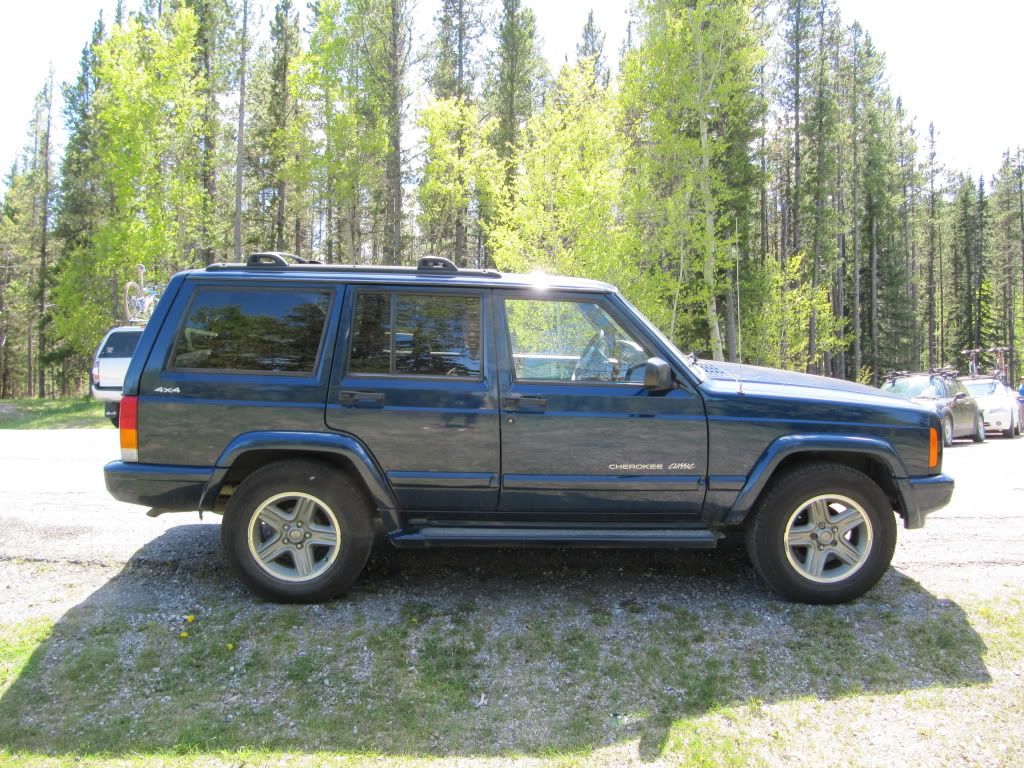
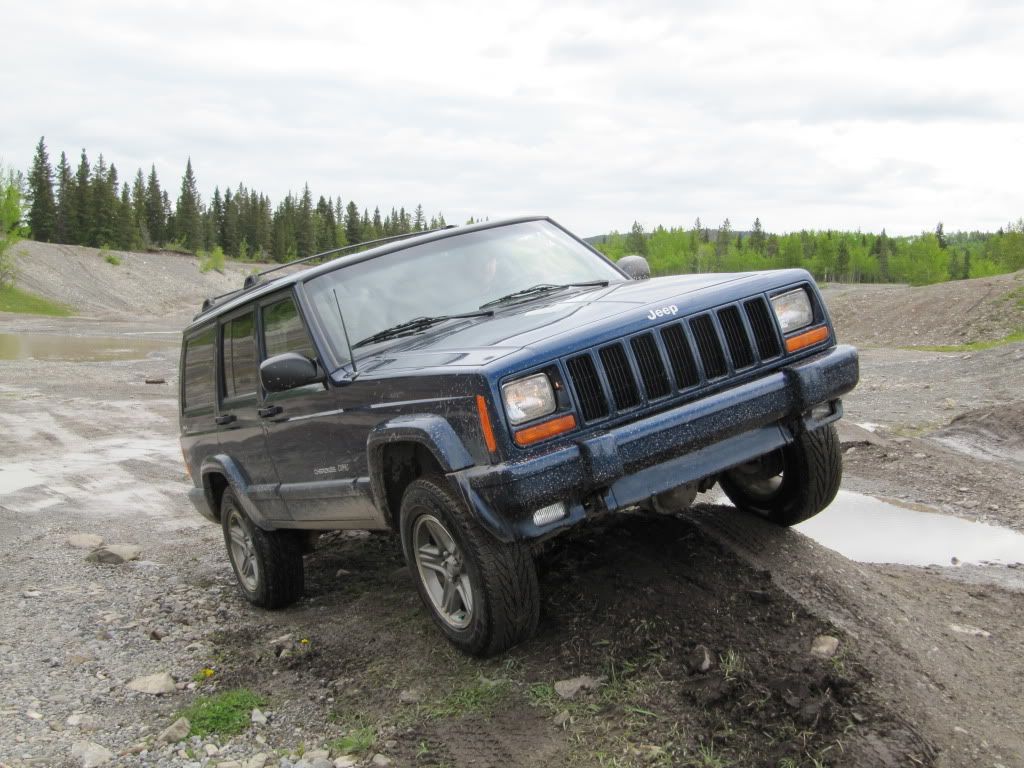
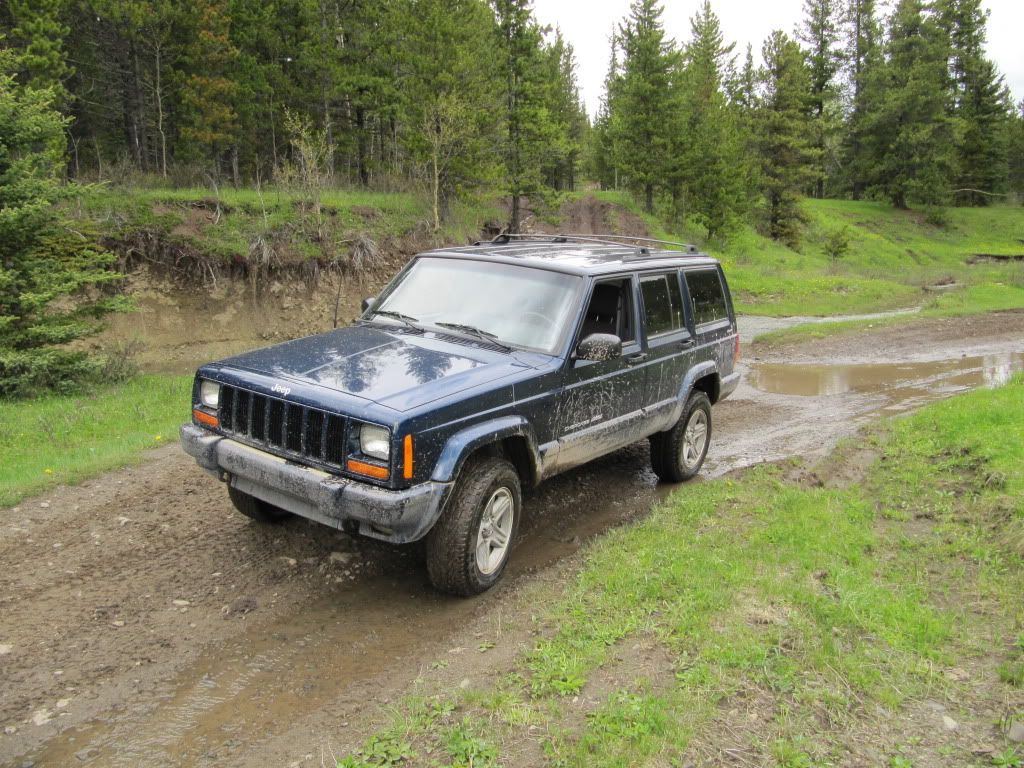
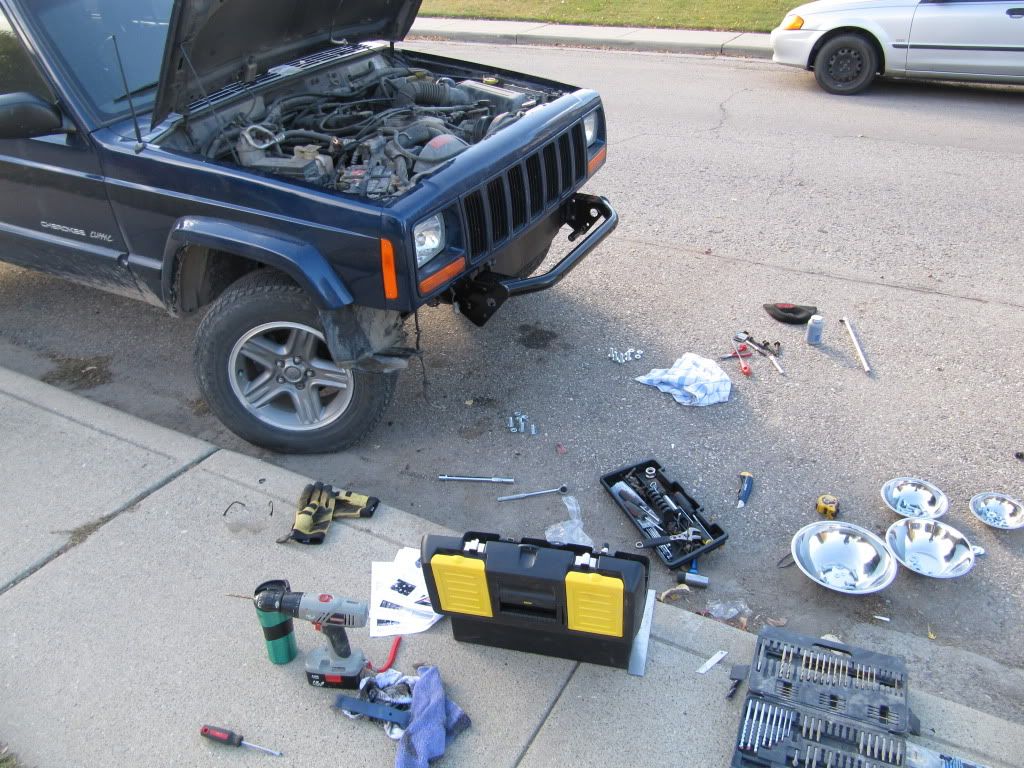
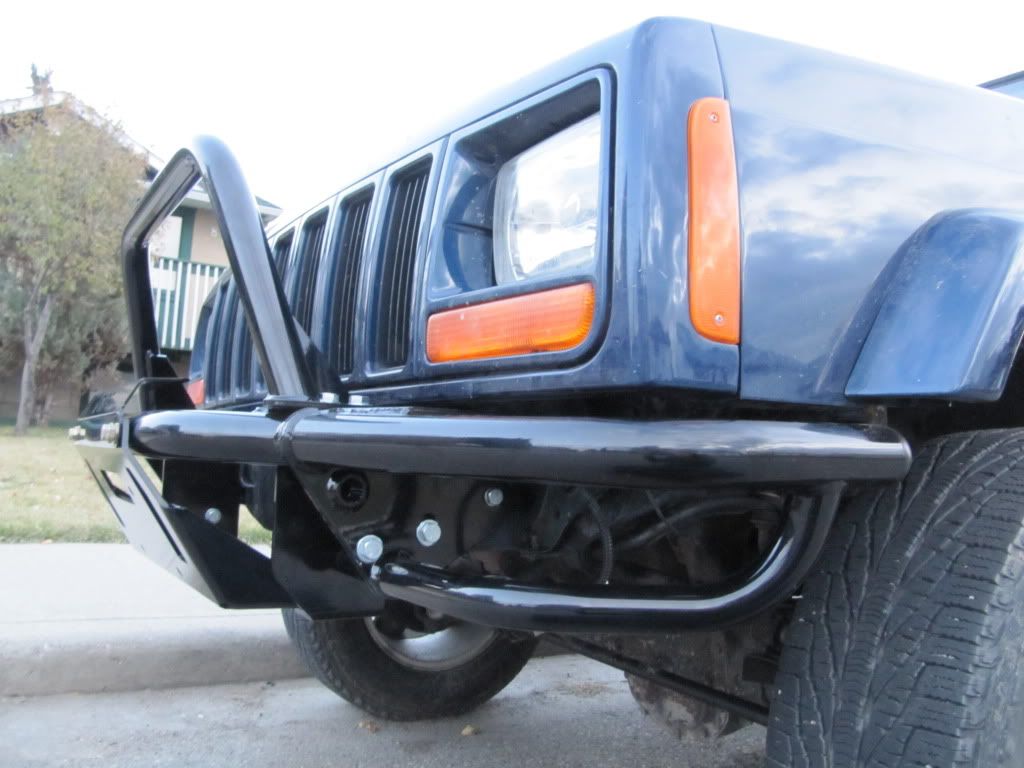
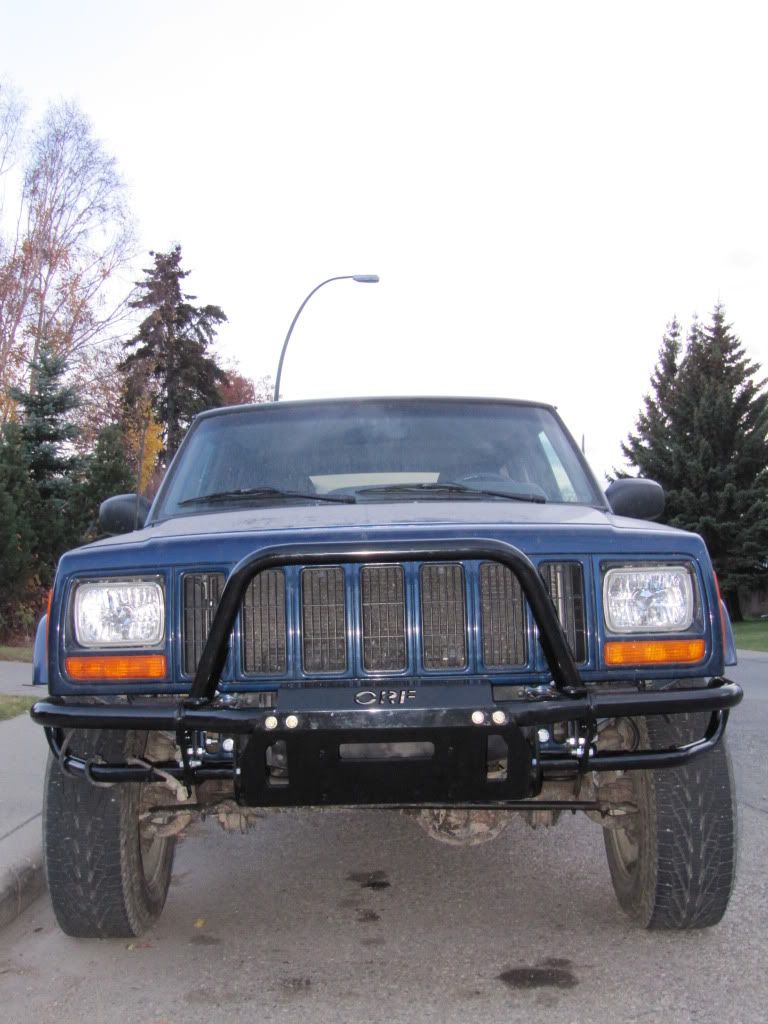
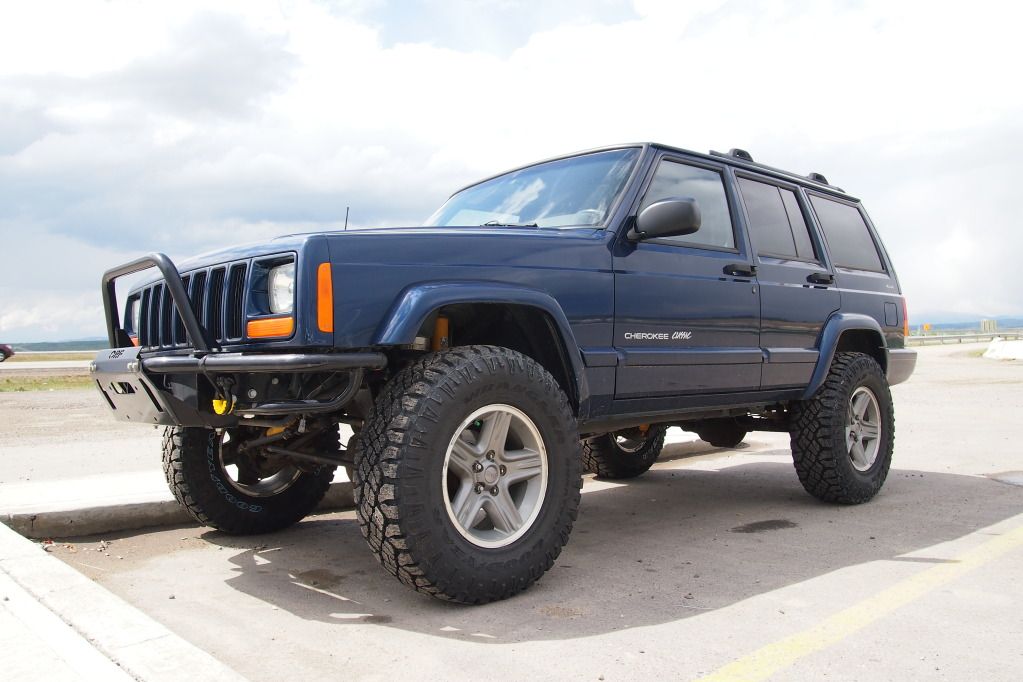
    Well, I figured I'd toss up some pics and info on my Jeep. This will be pretty much a recap of the past 3-4 years, but I'll keep updating is as this project will seemingly never end.

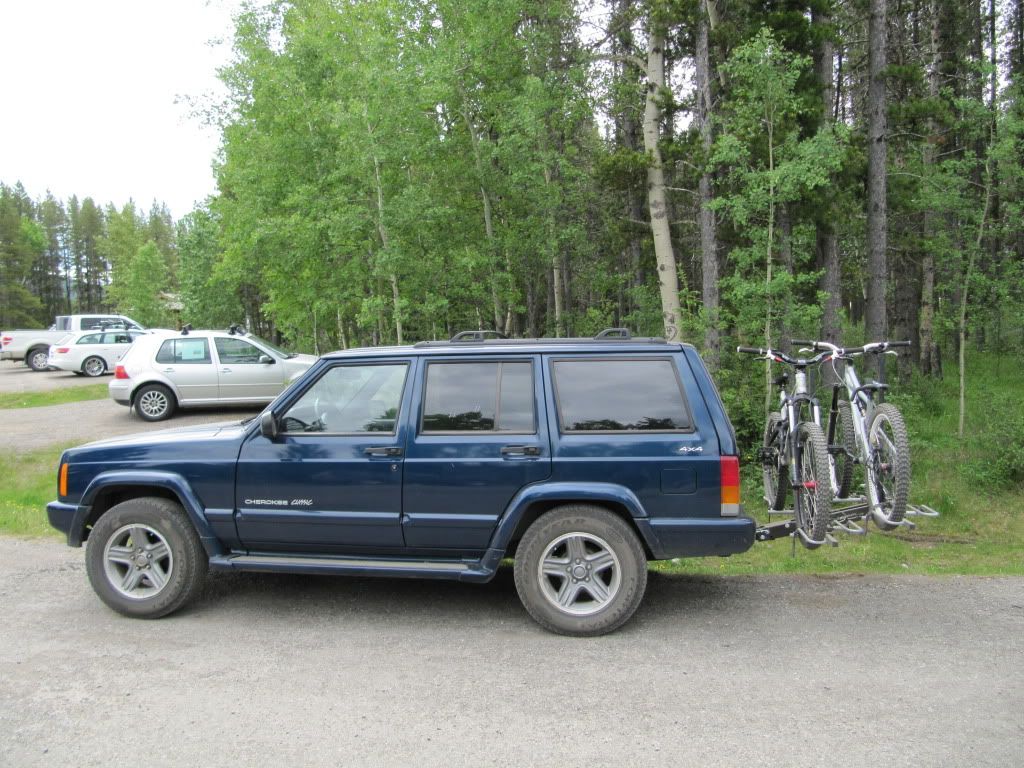
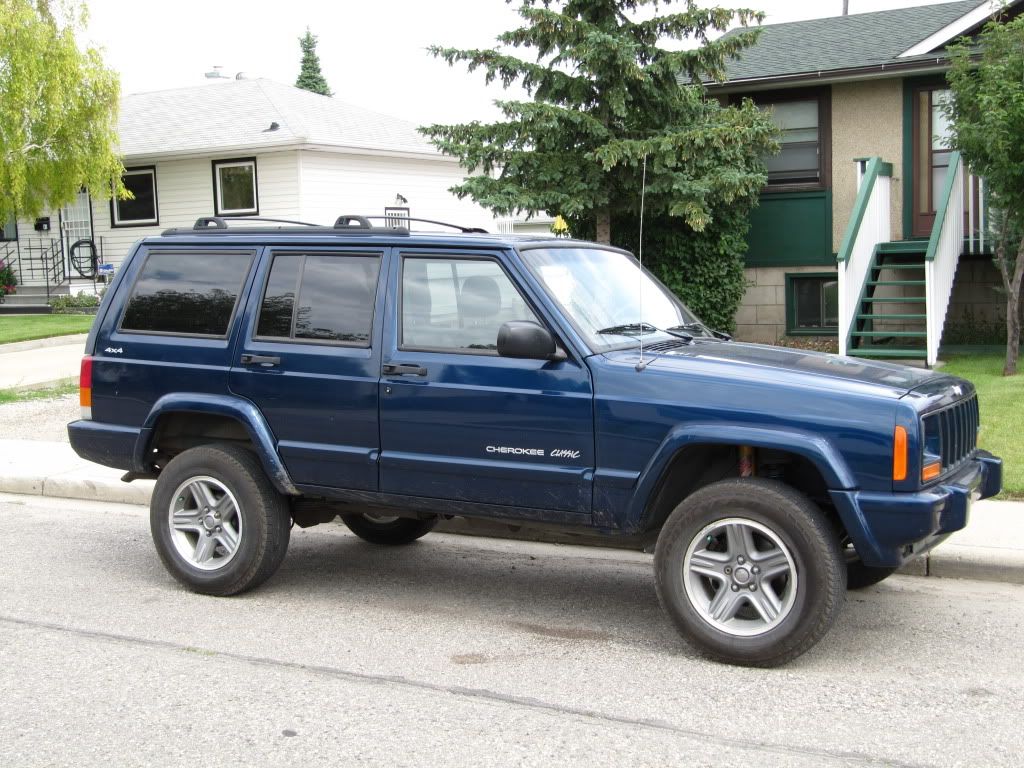
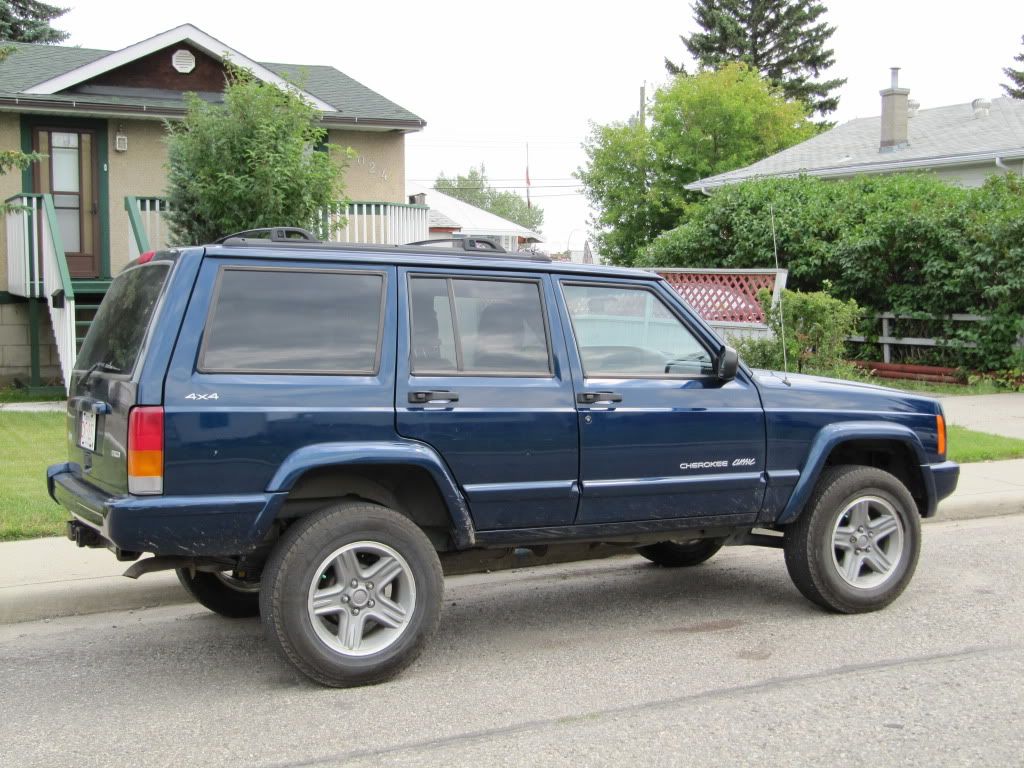
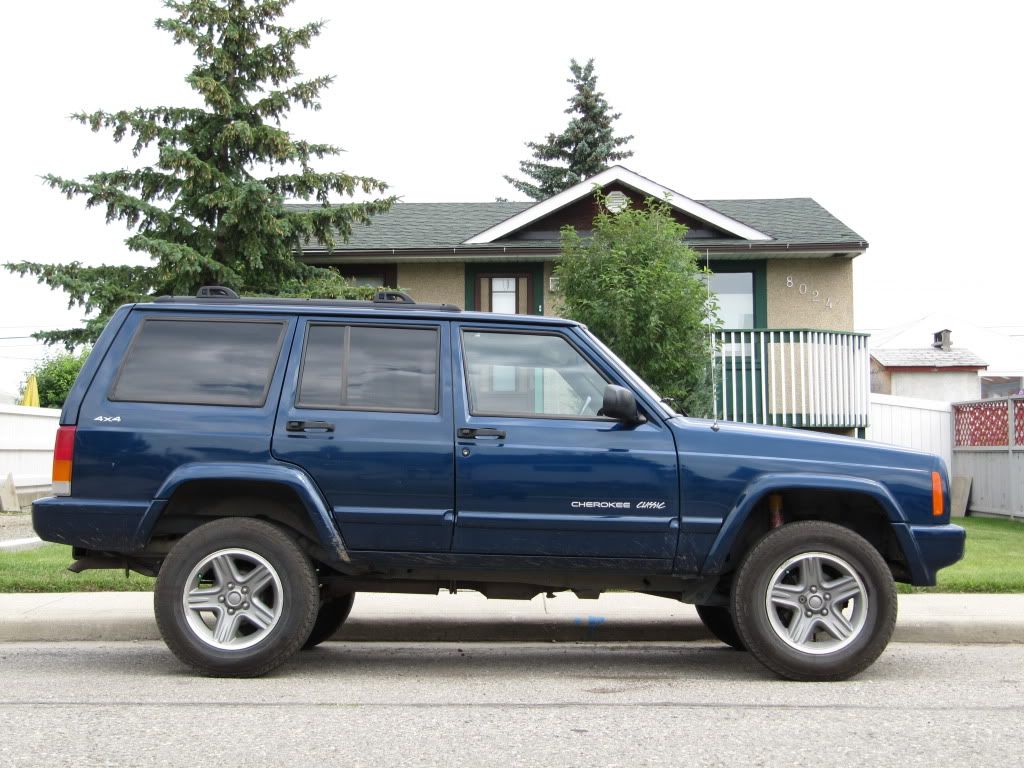
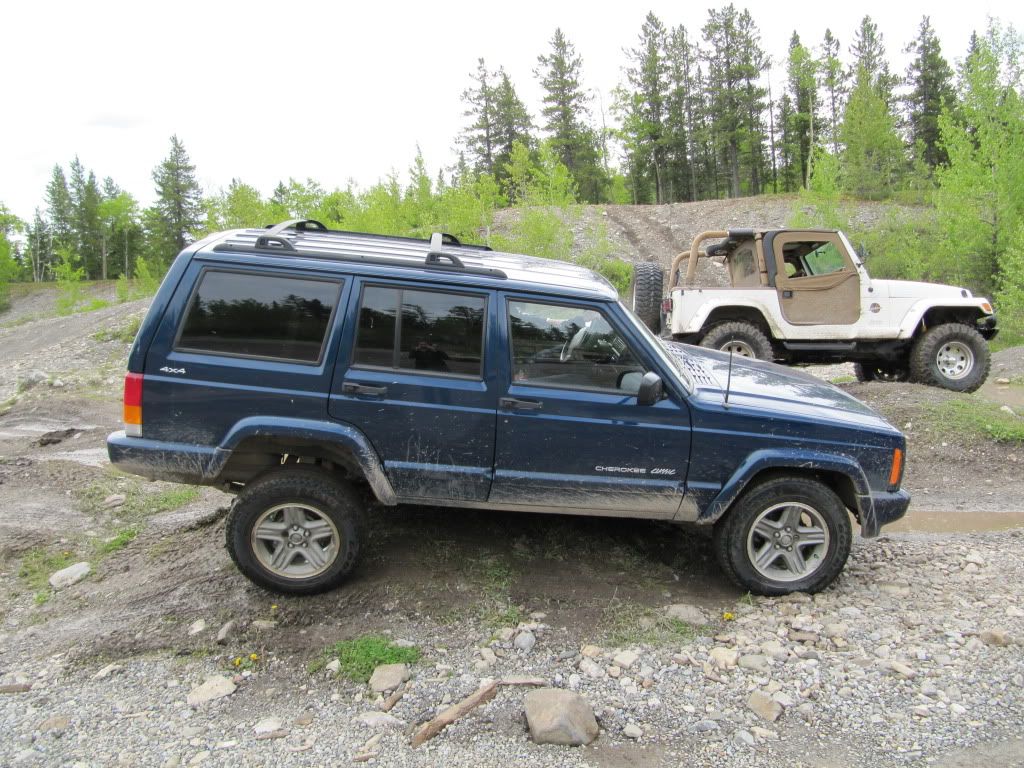
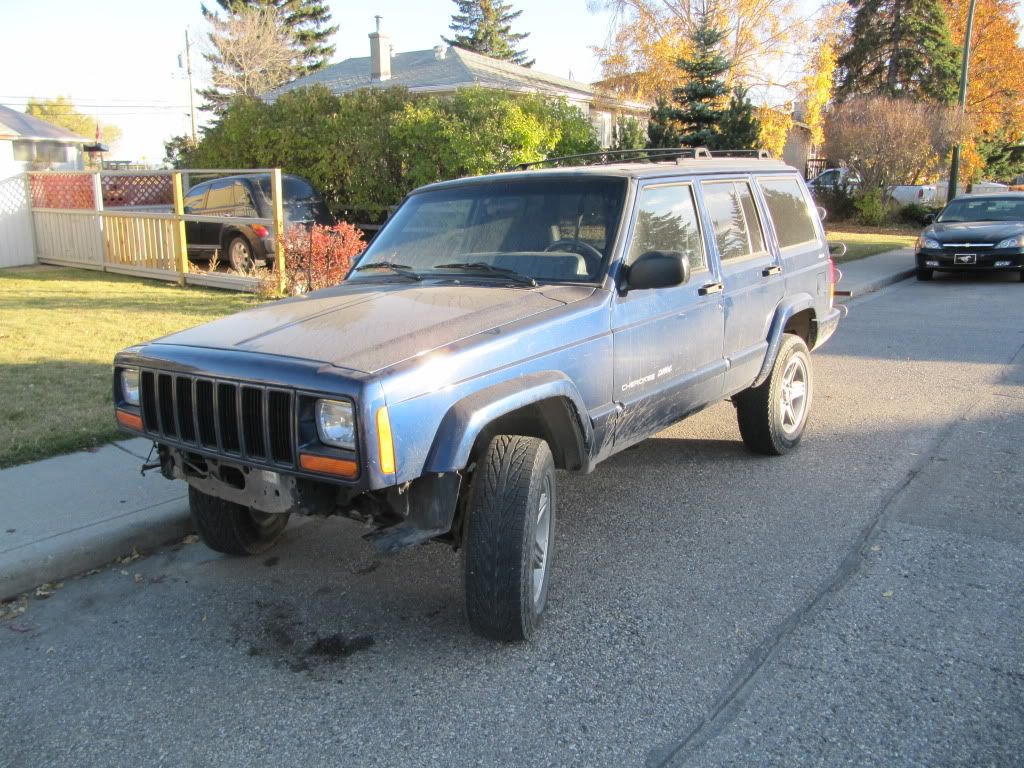
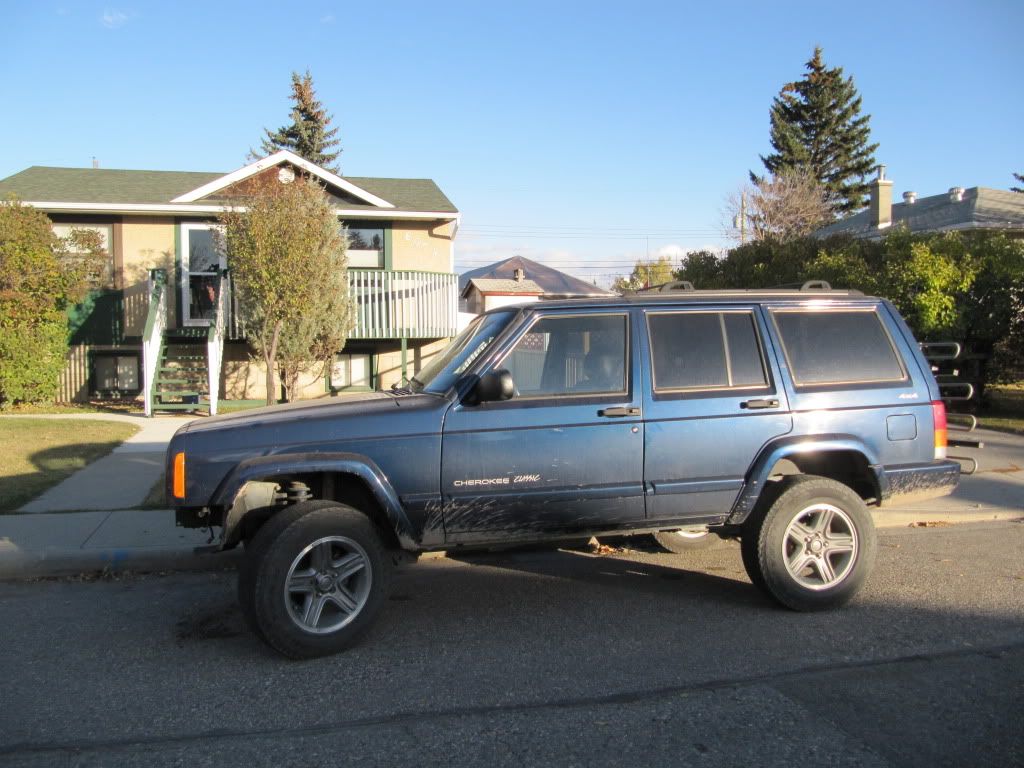
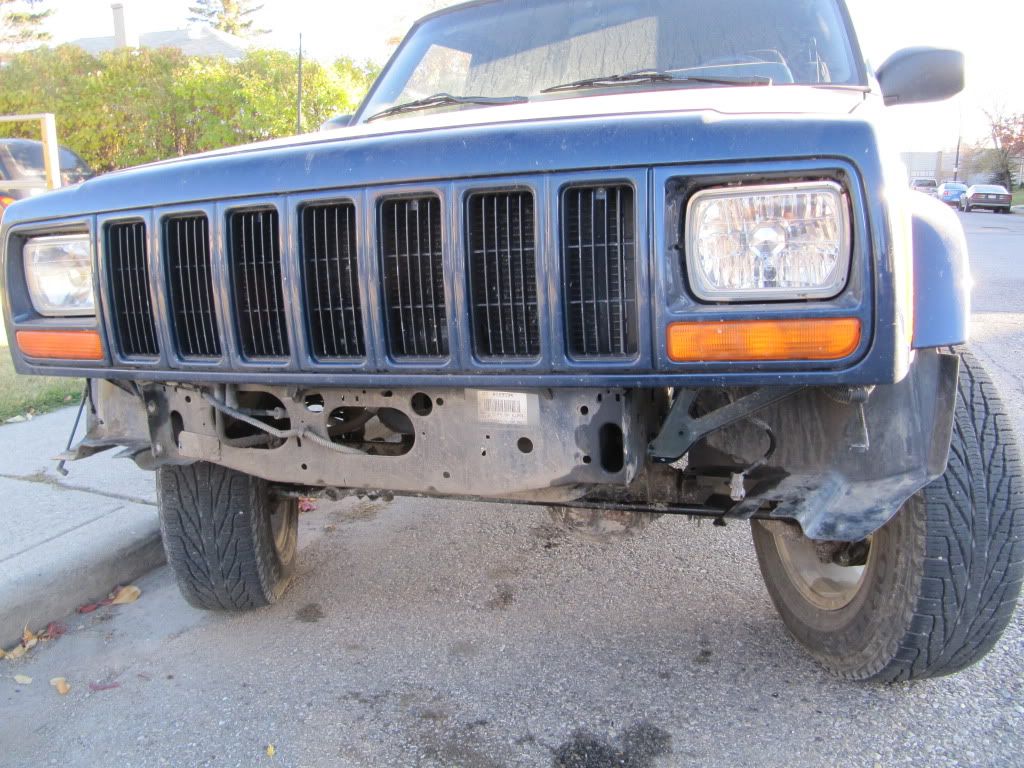
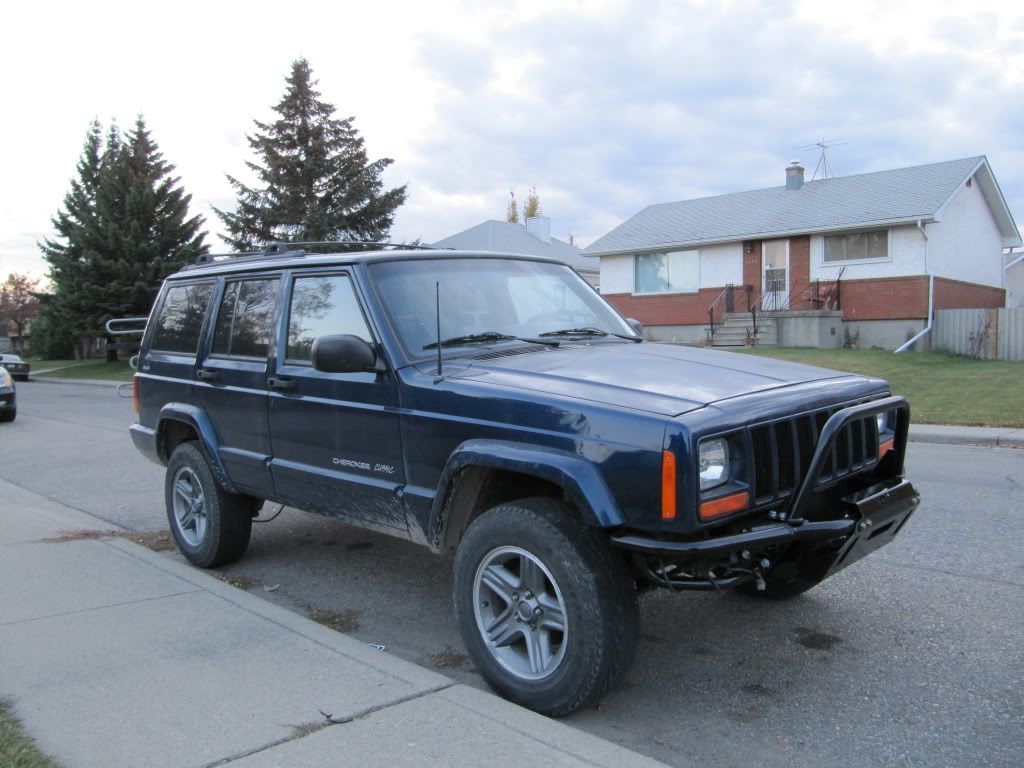
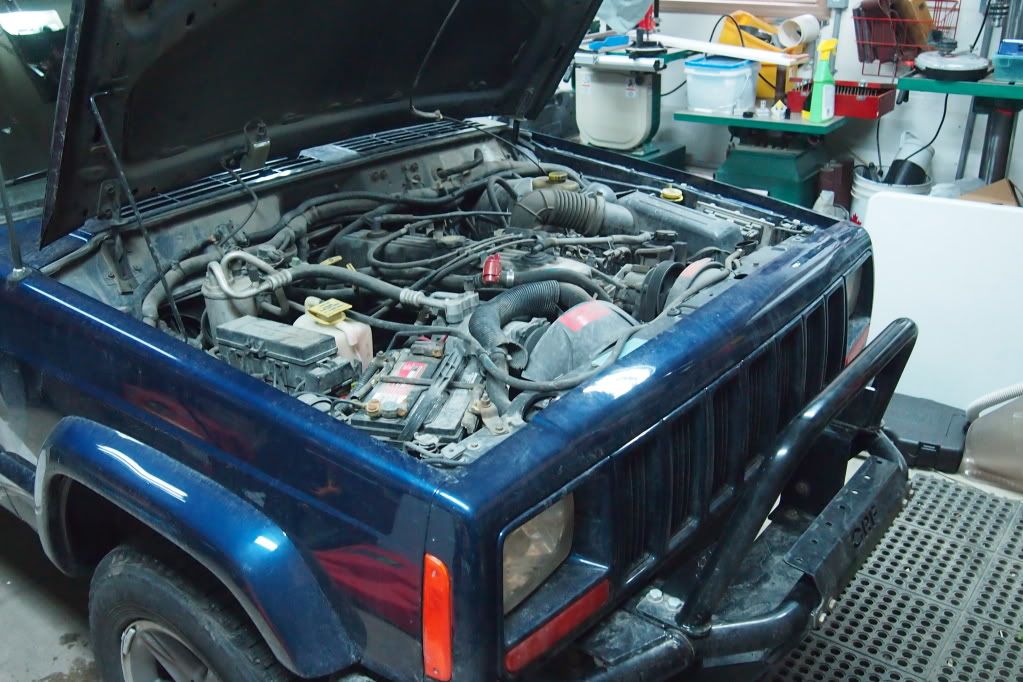
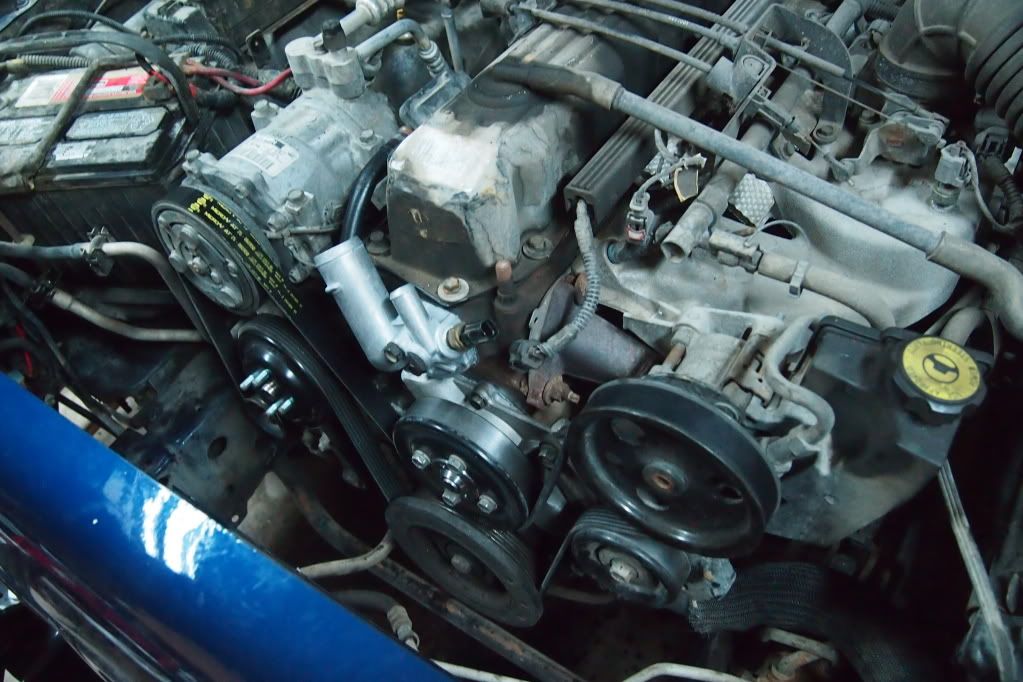
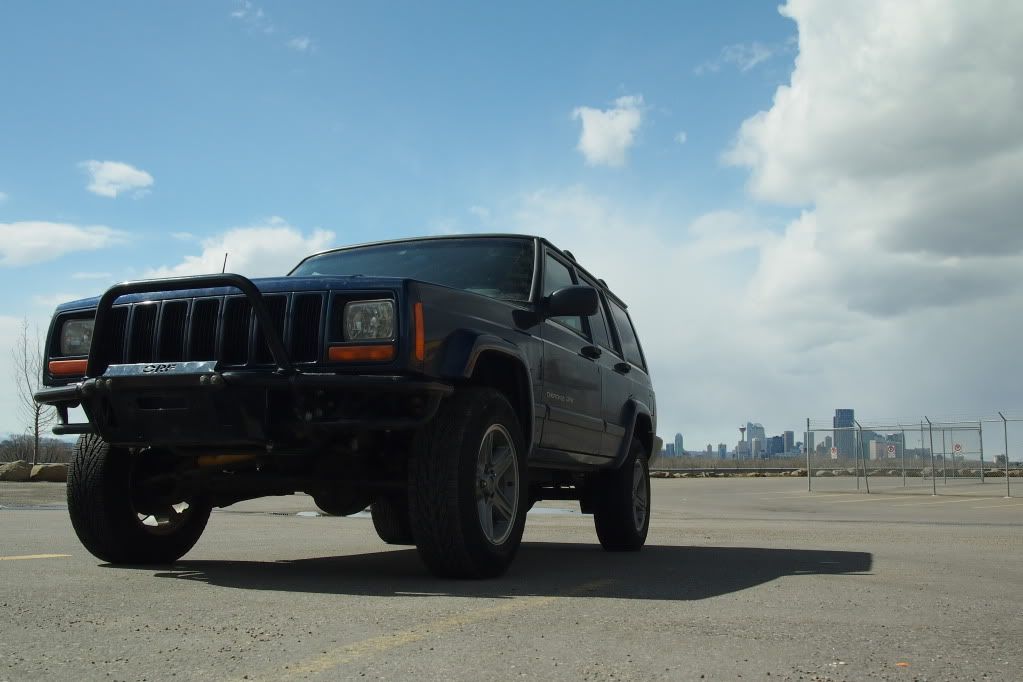
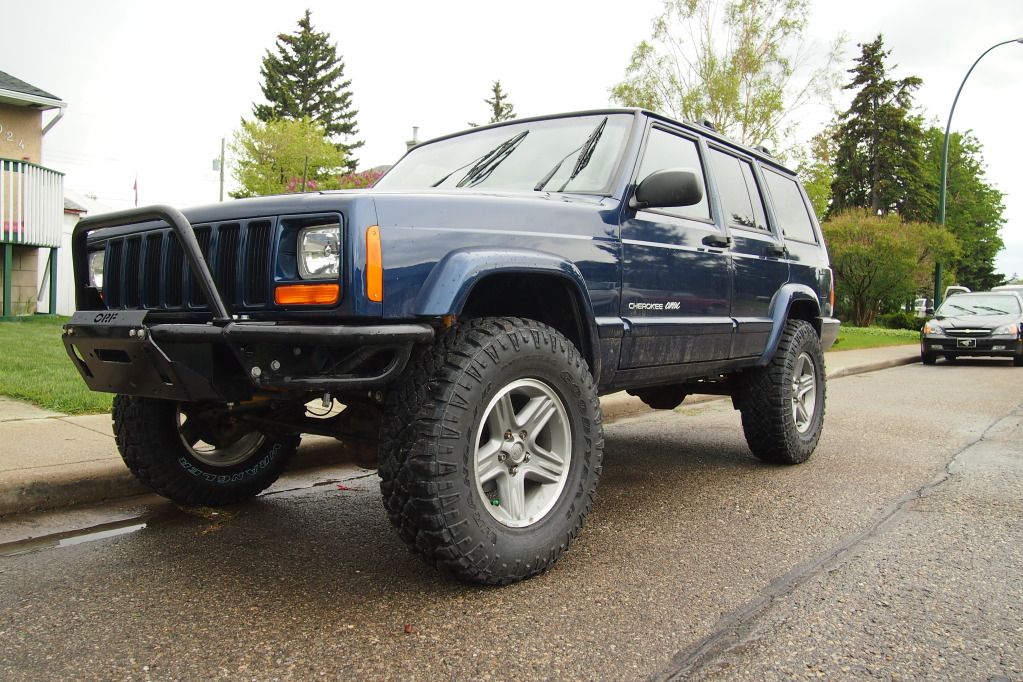
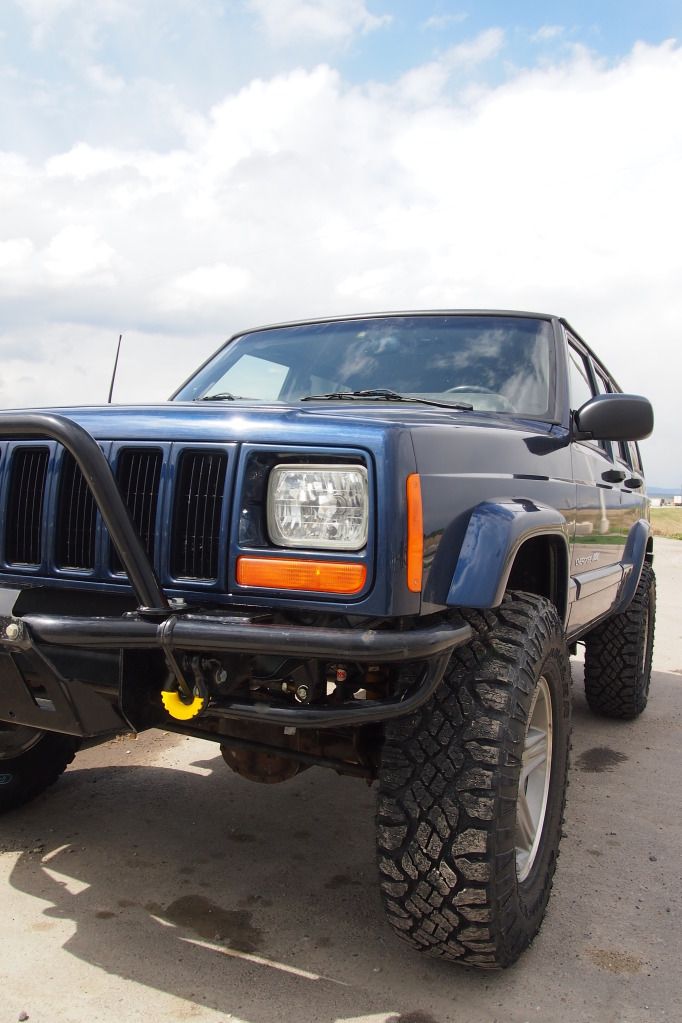
    I have a 2000 XJ Classic that has been in my family since new. When a new DD was in order for the fam, I bought the XJ as a play/utility vehicle. It had about 225,000km on it and a few issues, but since it was garage kept and never taken off road, it was in great condition overall.


  2. #2
    Join Date
    Aug 2014
    Location
    Canada
    Posts
    68

    Default Re: bRIBEGuy's 2000 XJ: An Ongoing Build Project

    The A/C didn't work, and windows only rolled up/down intermittently, so a new drivers side switch module was in order (cheaper then fixing the a/c ....lol). The disc brakes were shot, so the front got new rotors and pads.


    Next up was a bike rack, as I intended to use the XJ for many a mountain bike trip.


  3. #3
    Join Date
    Aug 2014
    Location
    Canada
    Posts
    68

    Default Re: bRIBEGuy's 2000 XJ: An Ongoing Build Project

    The Infinity amp was shot, and the factory head unit was intermittent, so I decided a new stereo was in order. I didn't want to sink too much coin into it, but still wanted the ability to bump some decent tunes, so I got to work.

    The factory head unit came out, and a Pioneer CD deck went in instead. Dual pioneer 6.5" coaxials went in the rear, while a nice set of Auditor 5.25" components slipped into the front doors (6.5" wouldn't fit here, sadly).


    I wanted to run a better amp and a sub, but didn't want to loose a ton of space, so I cut out one of the rear panels, and built a custom sub box from MDF.


    Internal volume worked out to be right around 1 cubic foot.........perfect for a single 10" sub. I decided to integrate the amp mount into the box design, and started carpeting.


    I've had very good luck with Focal in the past, so decided to stick with their budget "Auditor" line, and dropped in one of their 10" woofers.


    Amp was supposed to be much cheaper then this, but I happened to have to 4 channel Eclipse amp kicking around, so in it went.


    Once the construction was finished, I got AudioConceptsMobile to hook it all up, and then I made up some trim pieces to finish it all off.


    The set-up sounds good overall, though in retrospect I should have spend the extra cash of a better deck. Oh well..............

  4. #4
    Join Date
    Aug 2014
    Location
    Canada
    Posts
    68

    Default Re: bRIBEGuy's 2000 XJ: An Ongoing Build Project

    It was around this point that I realized the running boards were on their last legs after putting my foot through on of them in Canmore.

    So off they came.


    The back of the XJ was riding a little low, and I knew all 4 shocks were shot.

    After MUCH research, and a lot of back and forth deliberation, I finally decided to pony up and ordered a 2" heavy duty Old Man Emu lift from Northridge4x4.ca.


    The new springs, leafs, shocks and bushings made a HUGE difference in the way the truck rode, and the load carrying capacity is WAY better then ever before (rides smooth and level with 1000lb+ in the back).

    The lift netted ~1.75" in the front, and over 3" in the back (oddly enough).


    Looks a little bit wacked at rest, but levels out nicely when fully loaded.

    Last edited by bRIBEGuy; 08-24-2014 at 05:52 PM.

  5. #5
    Join Date
    Aug 2014
    Location
    Canada
    Posts
    68

    Default Re: bRIBEGuy's 2000 XJ: An Ongoing Build Project

    Tow hooks installed:


    Got to use those LOTS the first few times on the trails!


  6. #6
    Join Date
    Aug 2014
    Location
    Canada
    Posts
    68

    Default Re: bRIBEGuy's 2000 XJ: An Ongoing Build Project

    Some heavy trail damage saw some front end work needing to be done. HID's were popped in for more light, and some sweet JKS ACOS went in (magically without pictures) too. Next up it was time for a better front bumper, so an Or-Fab unit was selected and ordered.


    To start, a brief reminder of the "before" look. This is a pic snapped out past Waipairous a couple years ago on an exploratory run.


    A visit from UPS, and a short unpack later, I was greeted with boxes filled with spray foam.


    As great as the packing was, it seems that ORFab managed to damage the finish on a number of pieces before sending them out. The light mount has a series of scrapes through the powdercoationg and right into the steel.


    The rest of the pieces have some chips in the finish, and generally are pretty scuffed up. Boo!

    None the less, still looks pretty cool, IMHO.


    Another negaitive, was that not all the parts were in the same finish. While the main bumper was in the bicycle black, they shipped the steering box brace in wrinkle black. Uhg.
    Last edited by bRIBEGuy; 08-24-2014 at 05:57 PM.

  7. #7
    Join Date
    Aug 2014
    Location
    Canada
    Posts
    68

    Default Re: bRIBEGuy's 2000 XJ: An Ongoing Build Project

    And then............I just drove it, and stopped taking pictures of it for some reason. Managed to blow the aluminum radiator, so another stocker went back in. Swapped out the front u-joints and unit bearings. Had to rebuild the cheapo winch after it blew up. Started using the XJ to tow heavy crap using a 5x8 utility trailer as somehow landscaping a new house became my new life.

    Okay, so my 2000 XJ has extremely little rust on it....up until last year when the roof started to spot up a bit. In no time flat now (well......a year or so) this has morphed into a bubbly nasty XJ skin condition.

    Now 95% of this looks like simple surface rust to me, so my plan was to grind it down, prime it, and get it painted. I'd like to keep my Jeep in good operating condition, and spending the money and effort on repainting is fine. As it sits there are no leaks inside the Jeep, and the stuff on the roof seems shallow. I don't have much bodywork rust knowledge though........ There is one spot on the passenger side upper windshield corner however that looks pretty nasty when the trim is pulled back.

    A few pics to show the current state:


    Or at least I THOUGHT there were no leaks in the Jeep.........then the other morning, after an evening of light rain and fog, I got into the XJ to find a small puddle on the passenger side floor mat. Uh oh. Upon closer inspection of the upper passenger side windshield frame, it appears that I have a small hole under the rubber trim. I can slide the ignition key into my header, and I fail to see how this could be even a remotely good thing.

    So........now I'm stuck trying to figure out what to do, while a pookapotumus whispers in my ear to pull the windshield and learn to weld.........Hmmmm......

    WELCOME TO MY JEEP.

  8. #8
    Join Date
    Aug 2014
    Location
    Canada
    Posts
    68

    Default Re: bRIBEGuy's 2000 XJ: An Ongoing Build Project

    Front end tear down of the XJ went smooth. Surprised at the amount of mismatched hardware holding on the bumpers, though, and even more surprised to find a bolt missing.


    Also discovered that there is supposed to be some sort of sensor by the grill. Mine apparently is missing, though the wiring & plug is still around. Anyone know if this is something I should be looking into?

    Anyway, started with the "Gap Guard"..........which of course doesn't fit since I have a tranny cooler. A few measurements and some xacto time, and the problem is solved.


    Center section bolts on first using what will end up totaling to be a ridiculous amount of 1/2" grade 5 & 8 bolts.


    End caps go on next. No issues here.


    Then the grill loop. Looks great, but doesn't fit quite as flush as I had hoped. One of the washers hits the weld too. No biggy, I guess.


    Center winch section and light mount is up next, along with trimming the stock wheel well liners. AKA, pretty much done. Loved the fact that the kit was missing two 1/2" x 1.5" bolts. Uhg, now I have to track those down.


  9. #9
    Join Date
    Aug 2014
    Location
    Canada
    Posts
    68

    Default Re: bRIBEGuy's 2000 XJ: An Ongoing Build Project

    Well, I managed to get a bit more work done on the XJ.

    First up was finding the rest of the bolts for the bumper. A quick trip to Calgary Fasteners revealed that 1/2" grade 8 bolts were much cheaper then I expected. As such, I picked up enough of them to replace all the garde 5 hardware on my bumper.

    Next up was swapping out my stock (and tweaked) swaybar links for a nice set of JKS Discos.


    Getting the old links off was a snap, but dealing with the press fit pin at the bottom was another matter. After 4 days of PB Blaster, I opted to try the extraction method suggested by a few other forum members..........knocking them out with a hammer. After 20 minutes, I gave up, and splurged 
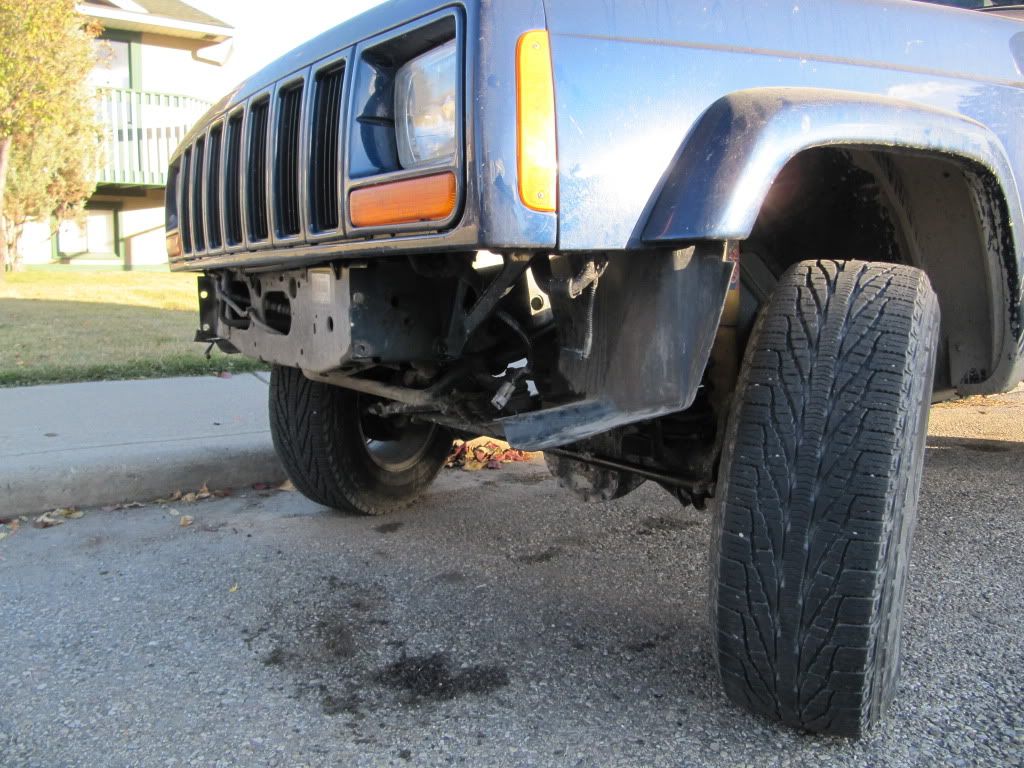
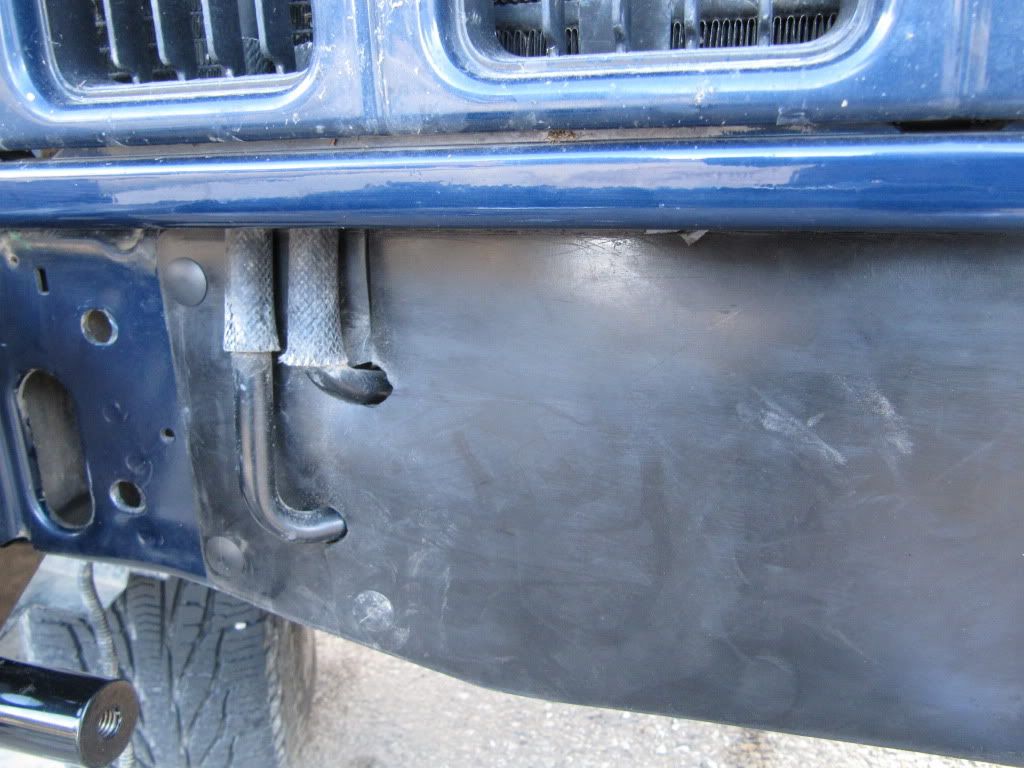
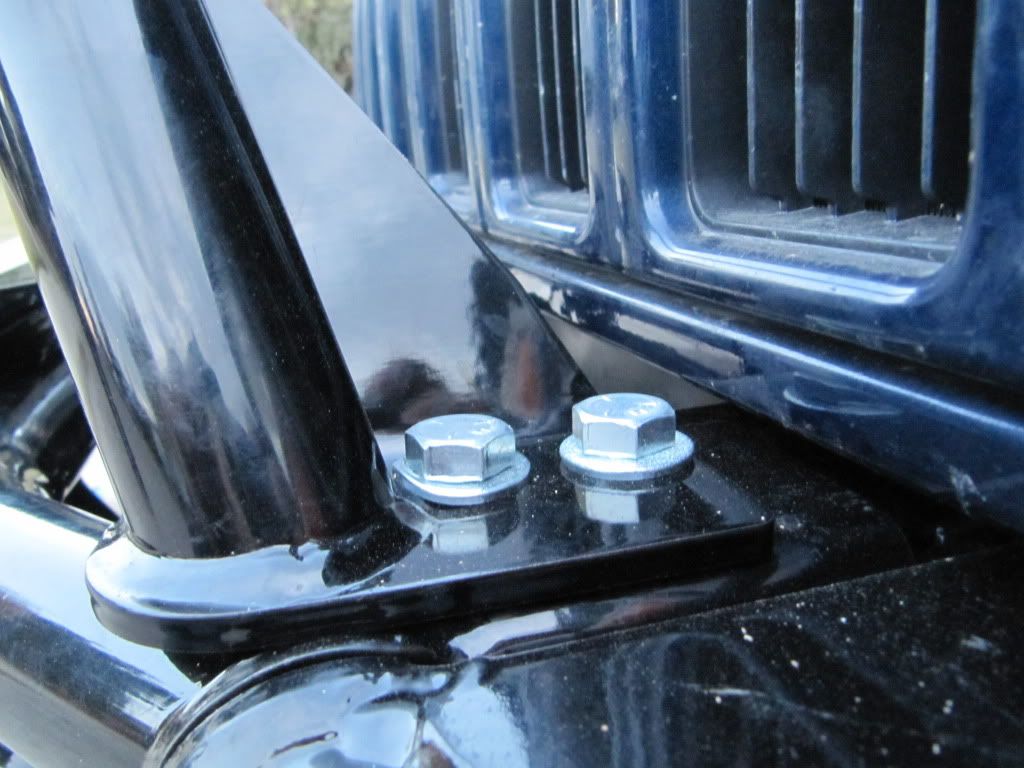
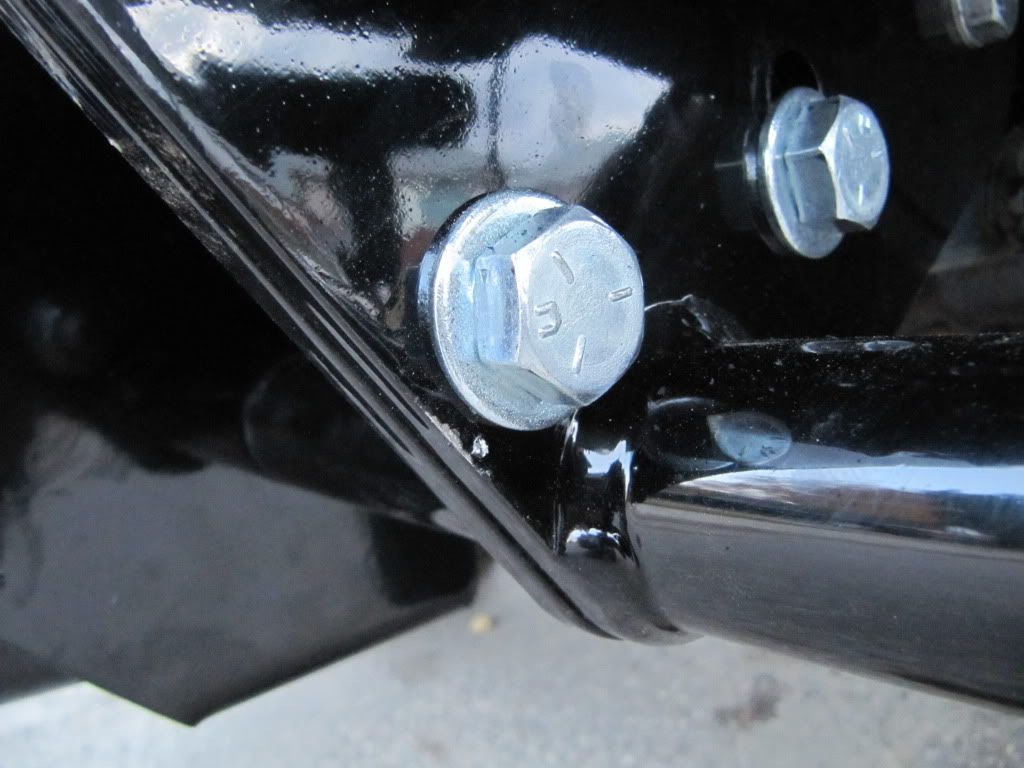
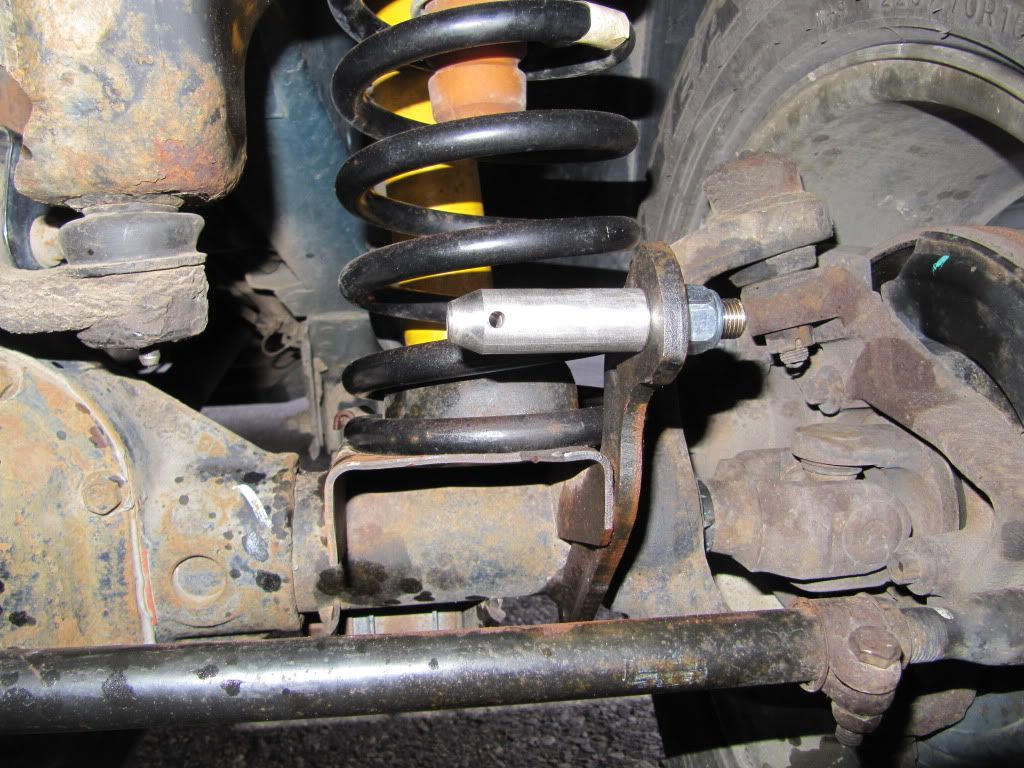
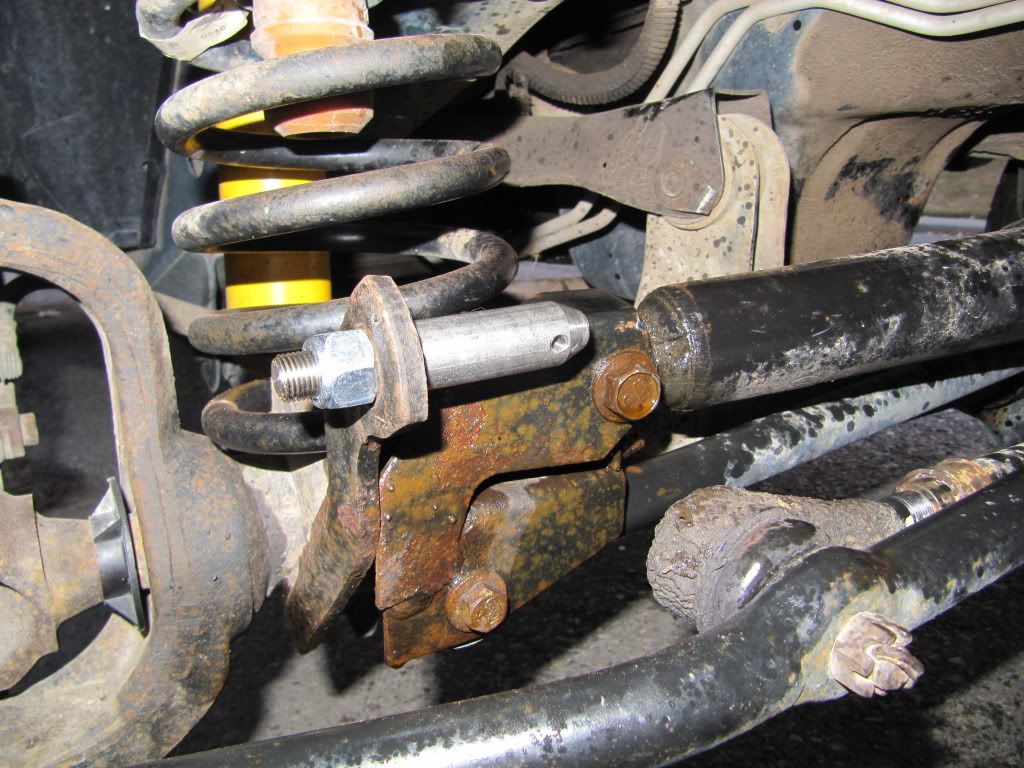
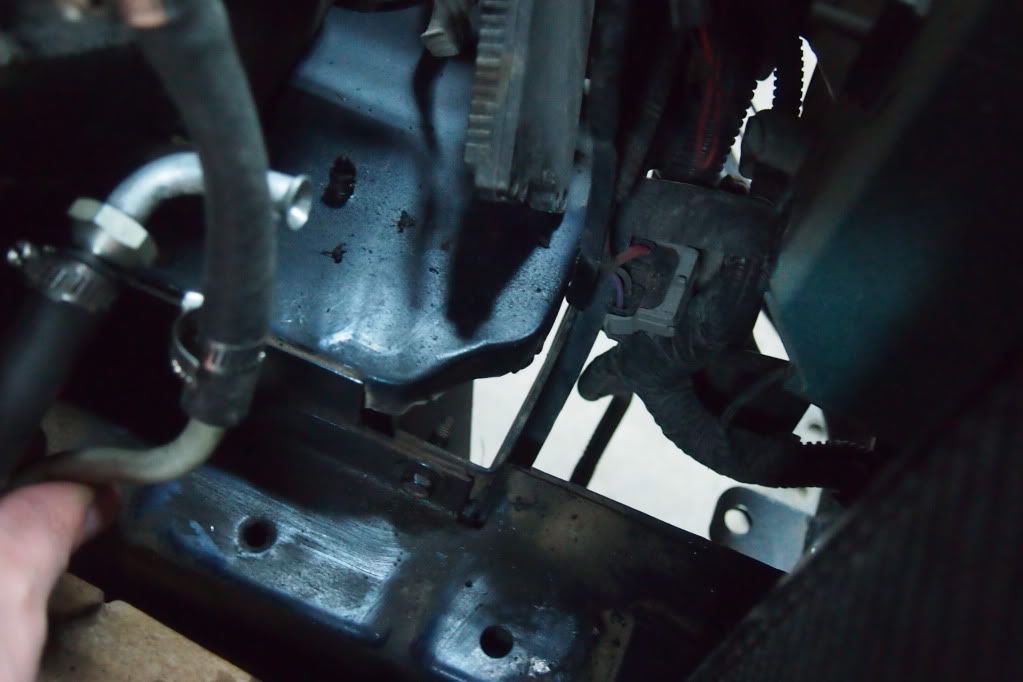
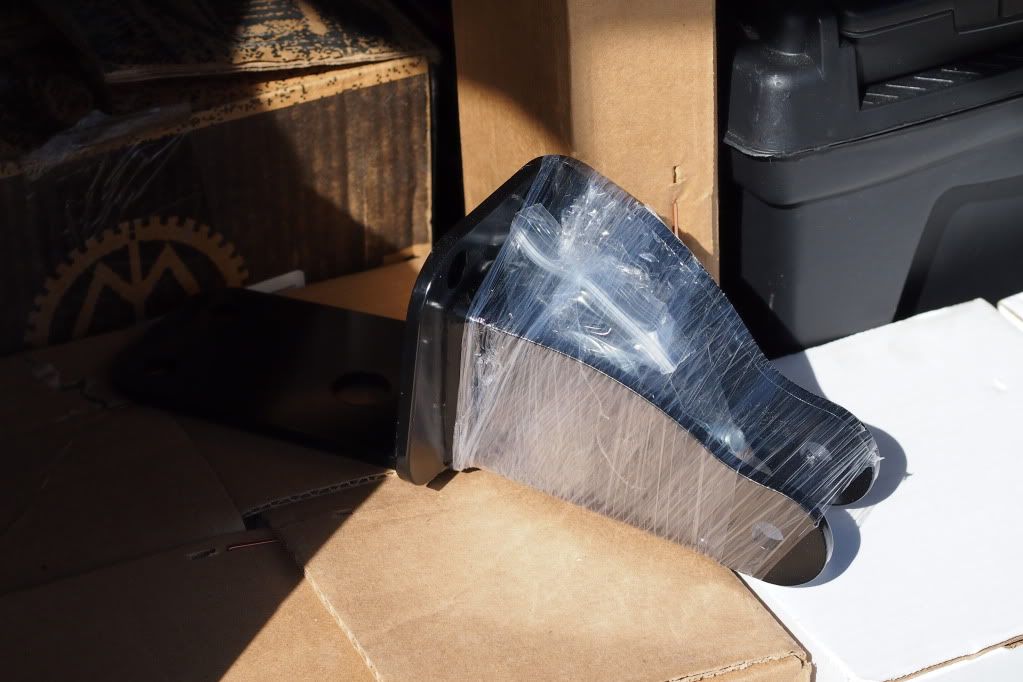
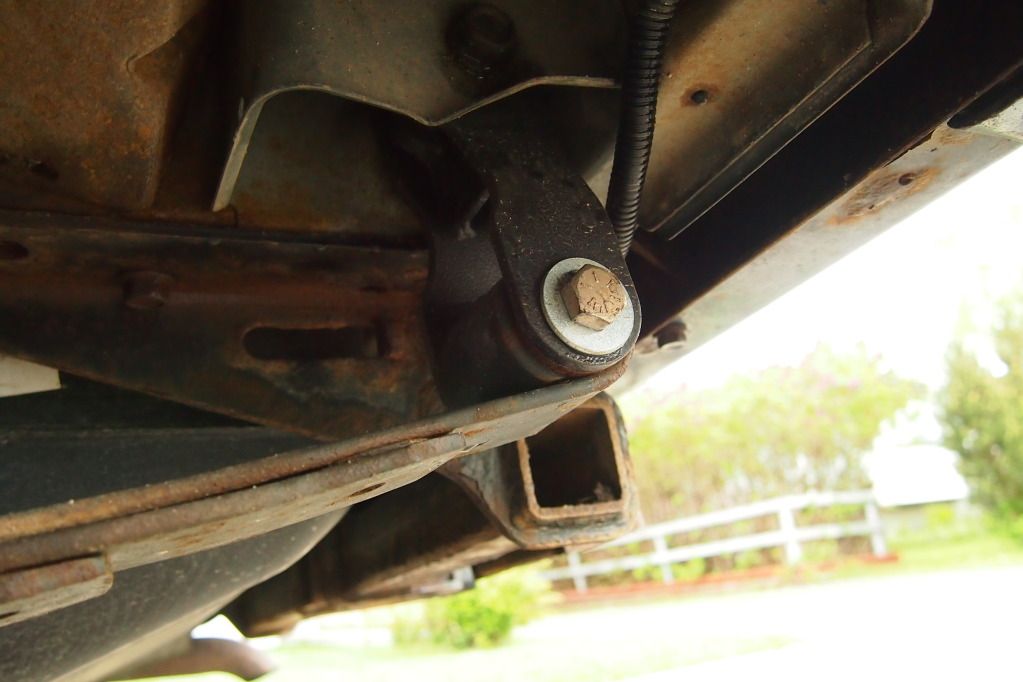
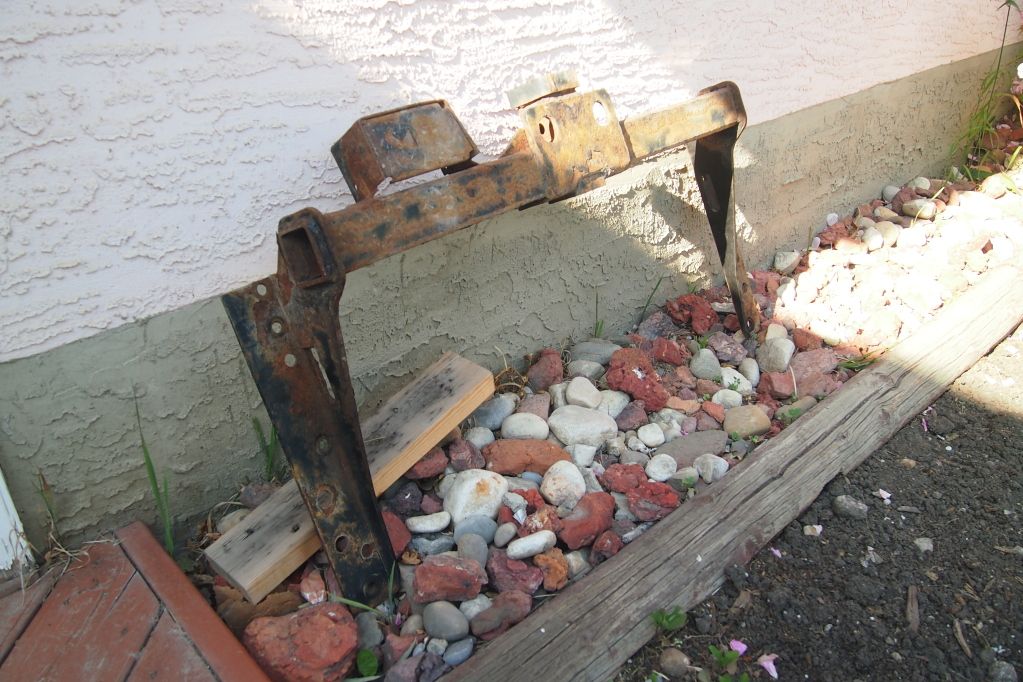
12 on a pitman puller from Princess Auto. A quick grind on the bolts to allow the puller to fit, and they slid right out like butter.
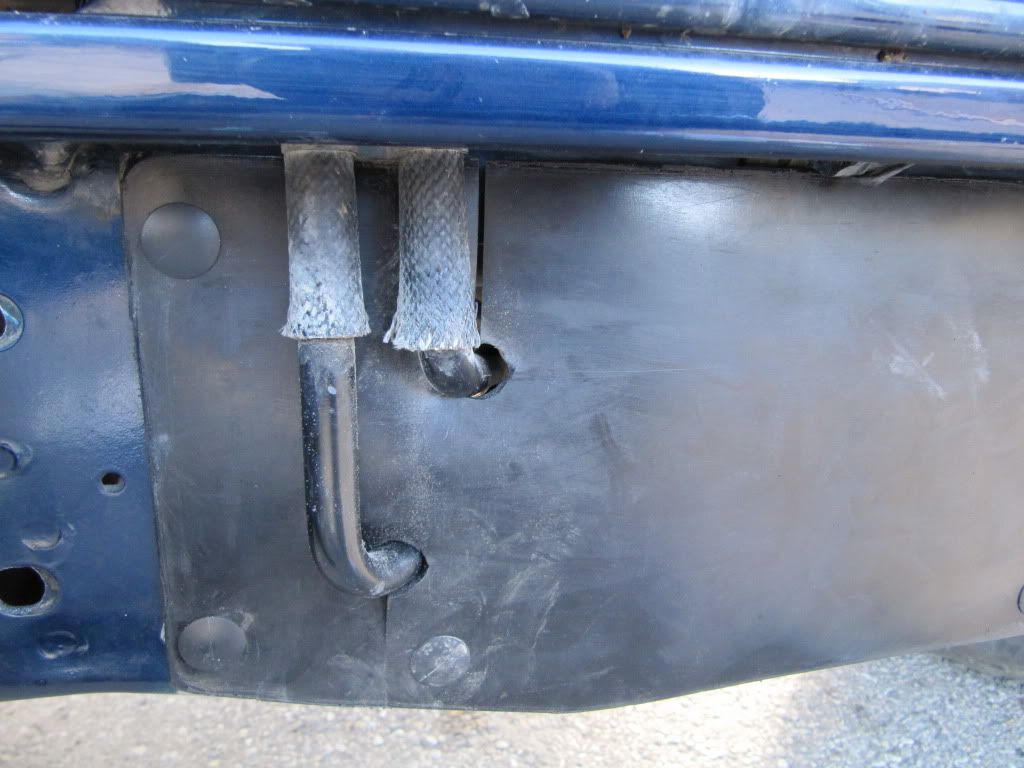
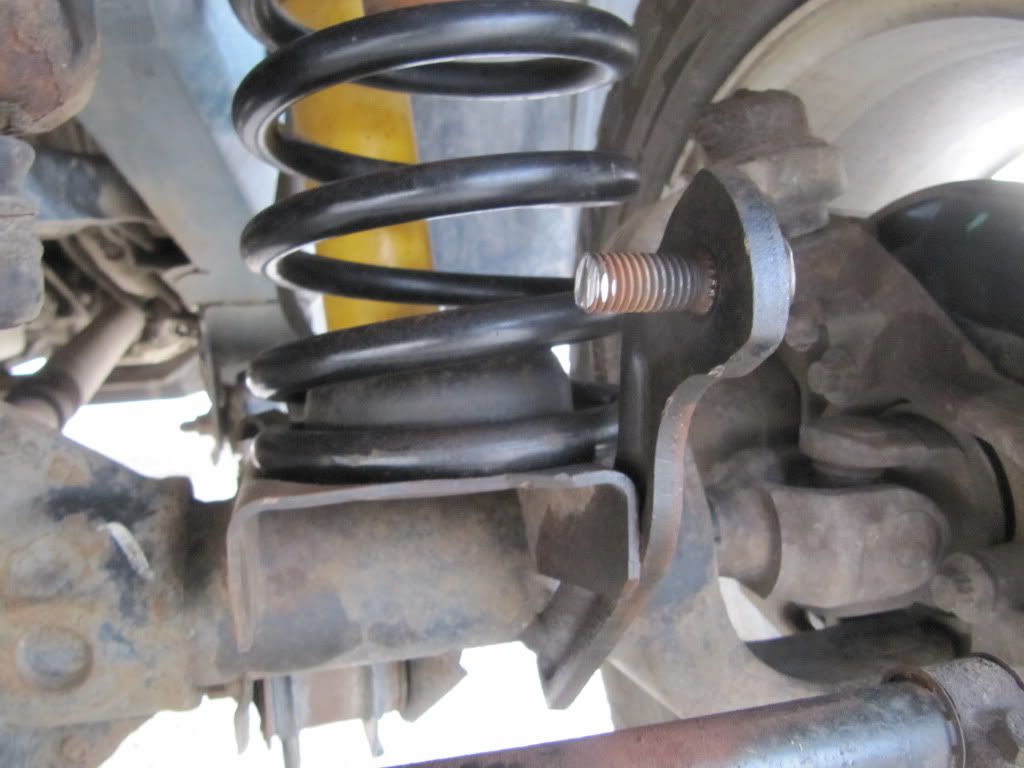

    [img width=750 height=1000]http://i864.photobucket.com/albums/ab209/bribeguy/Cars/079.jpg[/img]


    After that, the new ones slid in without issue. Good stuff!


  10. #10
    Join Date
    Aug 2014
    Location
    Canada
    Posts
    68

    Default Re: bRIBEGuy's 2000 XJ: An Ongoing Build Project

    I was feeling pretty good at this point, so I decided to tackle the steering stabilizer next.

    Again, out came the pitman puller to pop off the 4 day PB Blaster soaked drag link pin.

    This did not go as smooth as I hoped.

    I started cranking down on the puller, and after 2 or 3 minutes, all that was happening was the pin was bending and flaring. Uh oh. I opted to pause and take a look back at some info I had printed to make quadruple sure I wasn't screwing something up. As I'm sitting on the back bumper, I'm suddenly greeted with a Jeep shaking "BANG!", followed by the clanging of metal on concrete.

    Well, it seems like leaving the pitman puller on under pressure worked, as the pin popped, allowing the puller to fall to the ground.

    Sweet.

    The rest was easy from there.

    I love how beefy the OME damper looks compared to the OEM one.


    First couple of drives have shown this to be a worthwhile mod. Front steering feels much smoother then before. Not that it's any surprise...........brand new OME damper vs. 242k on a stock unit.....LOL.

    Next up: Skidplate. Or that was the plan. But this is afterall a Jeep.......... so first up was fixing a leaking radiator. My temporary "fix" of keeping a jug of coolant with me was starting to get old, so after a fair bit of research, I opted to upgrade a bit and pick up a Champion 3 row full aluminum rad.

    ;D


    Since I was pulling the rad anyway, I figured it was a good opportunity for some "piece of mind" preventative maintenance as well.

    Getting started on Friday morning................


    Started with draining the coolant, flushing the system, then reflushing the heater core.


    After that, out came the old rad. Third one this XJ has eaten in 245000km, amusingly.


    Next up, new thermostat, thermostat housing, water pump, viscous fan coupler, all new hoses, and a new serpentine belt.


    And then..............shiny time!


  11. #11
    Join Date
    Aug 2014
    Location
    Canada
    Posts
    68

    Default Re: bRIBEGuy's 2000 XJ: An Ongoing Build Project

    Radiator is a 98% drop in fit. The build in transmission fluid cooler uses different threaded attachments then the stock rad. Luckily Champion includes two new threaded flares and elbows. So I started by cutting off the old elbow for the upper hose with a dremel, ans mounting in the new one with a piece of hose.


    Some mechanic had long ago chopped off the bottom quick connect, so for the lower mount I just slipped the new elbow into the existing hose. Easy fo sheezy.

    This of course is where I found out that the bottom elbow fouls with some metal when the rad goes in. What metal you ask? This metal......


    I cut out a dime size piece with a dremel, wacked it a few times with a hammer, and hit it with some paint. Problem fixed, and the rad slipped right in.

    [img width=666 height=1000]http://i864.photobucket.com/albums/ab209/bribeguy/Cars/043.jpg[/img]
    [img width=666 height=1000]http://i864.photobucket.com/albums/ab209/bribeguy/Cars/044.jpg[/img]


    After that it was smooth sailing until I accidentally snapped my fan shroud in half. Luckily Pooks garage of XJ saved the day, and before I knew it, I was rolling again.


    Now back to the fun stuff...................

  12. #12
    Join Date
    Aug 2014
    Location
    Canada
    Posts
    68

    Default Re: bRIBEGuy's 2000 XJ: An Ongoing Build Project

    And so began the next phase...................


    And new shoes.....


  13. #13
    Join Date
    Aug 2014
    Location
    Canada
    Posts
    68

    Default Re: bRIBEGuy's 2000 XJ: An Ongoing Build Project

    Well, after a bunch of shop time, the XJ got a little bigger.

    Front: JKS ACOS, Detours shock extenders, Iron Rock adjustable upper & lower control arms, Iron Rock double Shear Track bar, Iron rock SS brake lines.


    Rear: Rubicon Express 1.5" lift shackles, Detours shock extenders, Iron Rock SS Brake lines.


    Add in some 1.25" Spidertrax wheel spacers, a set of five new 265/75R16 Goodyear Duratrac tires, and a few other little odds and ends, and it's starting to look pretty okay, IMO.


    Interestingly, the 1.5" lift shackles netted virtually no lift in the back. With the front HD OME springs, I was sitting at 1.75" of actual lift in the front, which the ACOS have now bumped to almost 3.5". The OME 2" HD spring packs in the back had netted me almost 3" previously, and the longer shackles really only added maybe 1/2" to that. Odd. The good news, is that I quite like how it looks a bit lower, the bad news is that I chose the 32" tire size based on an assumed 4-4.5" of total lift. With 3-3.5" of lift, now I'm thinking rubbing is gonna be a big issue. Time to look at some massive bump-stops I guess................which I never really did. And the lift settled even more. But we'll get to all of that in good time.......

  14. #14
    Join Date
    Aug 2014
    Location
    Canada
    Posts
    68

    Default Re: bRIBEGuy's 2000 XJ: An Ongoing Build Project

    Had some free time, so I figured I'd get a few things done before a local Off-Road 101 event.

    1st up: JKS Disconnect mounts. Drilled and set these up on the OEM front skid, and the looked and worked super slick. Well, up until I tried turning that is, at which point I was horified to find out they rub my tires. Bit of a surprise since I have 1.25" spacers. Grrrrr................

    2nd up: Kingone TDS 9.5C Winch Install. Doesn't fit up to my ORFAB bumper. Ends hit the bumper on both sides, and the feet of the winch don't sit flush on the mounting plate.

    UHG..............


    Anyway, after going to 32" tires, the spare certainly wasn't fitting in the stock location anymore. Laying it across the back SUCKED, and sadly a new rear bumper/sway-away wasn't in the budget since the wifey and I just pulled the trigger on building a new house. In the end I turned to Mark at Detours USA for one of his knucklebone set-ups.

    Started off by pulling the factory hitch:


    And grinding down the rust:


    The hitch and all the Knucklebone components got sprayed with primer, and then bedliner.


    [img width=666 height=1000]http://i864.photobucket.com/albums/ab209/bribeguy/Cars/445.jpg[/img]


    And the whole thing got assembled and mounted up.


    The tire now rotates off to the side to make way for the lift gate.


    Mounted:


  15. #15
    Join Date
    Aug 2014
    Location
    Canada
    Posts
    68

    Default Re: bRIBEGuy's 2000 XJ: An Ongoing Build Project

    I wasn't thrilled with how far out the tire was, so I got Mark to make me up a custom angled mount. Looks WAY better, IMO, and sucks the tire in a little closer.

    Best of all, I can still get three bikes on the back rack.


Page 1 of 6 123 ... LastLast

Similar Threads

  1. Welcome bRIBEGuy!!!
    By 4.3LXJ in forum New Member Introductions
    Replies: 6
    Last Post: 08-24-2014, 07:27 PM
  2. **Project Forest Rubi: A Scale Build**
    By ZachXJ1993 in forum My Build
    Replies: 5
    Last Post: 05-05-2014, 01:30 PM
  3. 88 xj project build
    By DRHCHEROKEE88 in forum My Build
    Replies: 23
    Last Post: 08-27-2013, 11:45 PM
  4. Project Mass.Build 92 XJ 4.5" RC LA!
    By vwfoolwhy in forum My Build
    Replies: 22
    Last Post: 10-04-2011, 02:42 PM
  5. Replies: 46
    Last Post: 03-29-2011, 12:25 AM

Tags for this Thread

Bookmarks

Bookmarks

Posting Permissions

  • You may not post new threads
  • You may not post replies
  • You may not post attachments
  • You may not edit your posts
  •